
The Command Division Supplement is definitely my favorite sourcebook for Star Trek Adventures so far. It’s a small field but there are a lot of cool ideas and exciting expansions to the main rules in there. One of the coolest, and something I skipped over in my initial review, are the fleet engagement rules in Chapter 5. These are really neat but I wanted a chance to play around with them before voicing an opinion. So, here we are!
This article originally appeared on my blog Mephit James Games.
Rules Overview
Basically, fleet engagement is mass combat for ships. You group your starships into fleets (or multiple wings if you have a bunch) and figure out the basic stats for each ship: Scale, Systems, and Departments. It took me about fifteen minutes to set up the fleets in the trial below, but I think I can shave that down now. I actually made a spreadsheet to help with it and you’re free to borrow it.
The sum of the Scales in a fleet or wing is the Fleet Strength; it’s recommended that you try to balance out the Strengths of all wings in a fleet, like having a Scale 6 ship in one wing and three Scale 2 ships in another. To attack, you roll Challenge Dice equal to the fleet/wing’s Fleet Strength and the defending fleet/wing rolls Challenge Dice equal to its Fleet Strength. Ties mean a draw but whichever fleet/wing rolls higher wins out and their opponent becomes damaged (an already-damaged ship is destroyed).
Ships get two actions each round (a damaged ship gets only one) and these include Attack Run (move a zone and attack), Feint (move a zone and reduce an enemy’s defense for the round), Advance or Flank Speed (move a far distance), Disengage (boost your defense for a round), or Regroup (heal damage). As appropriate for this book, ships with high Command or Conn Departments get some extra options.
Having Player Characters aboard one or multiple ships can give an advantage to their fleet/wing but this is enough to give you an idea. To see how this works out, I concocted the simple scenario below and tried my hand at rolling.

Defending Against the Dominion
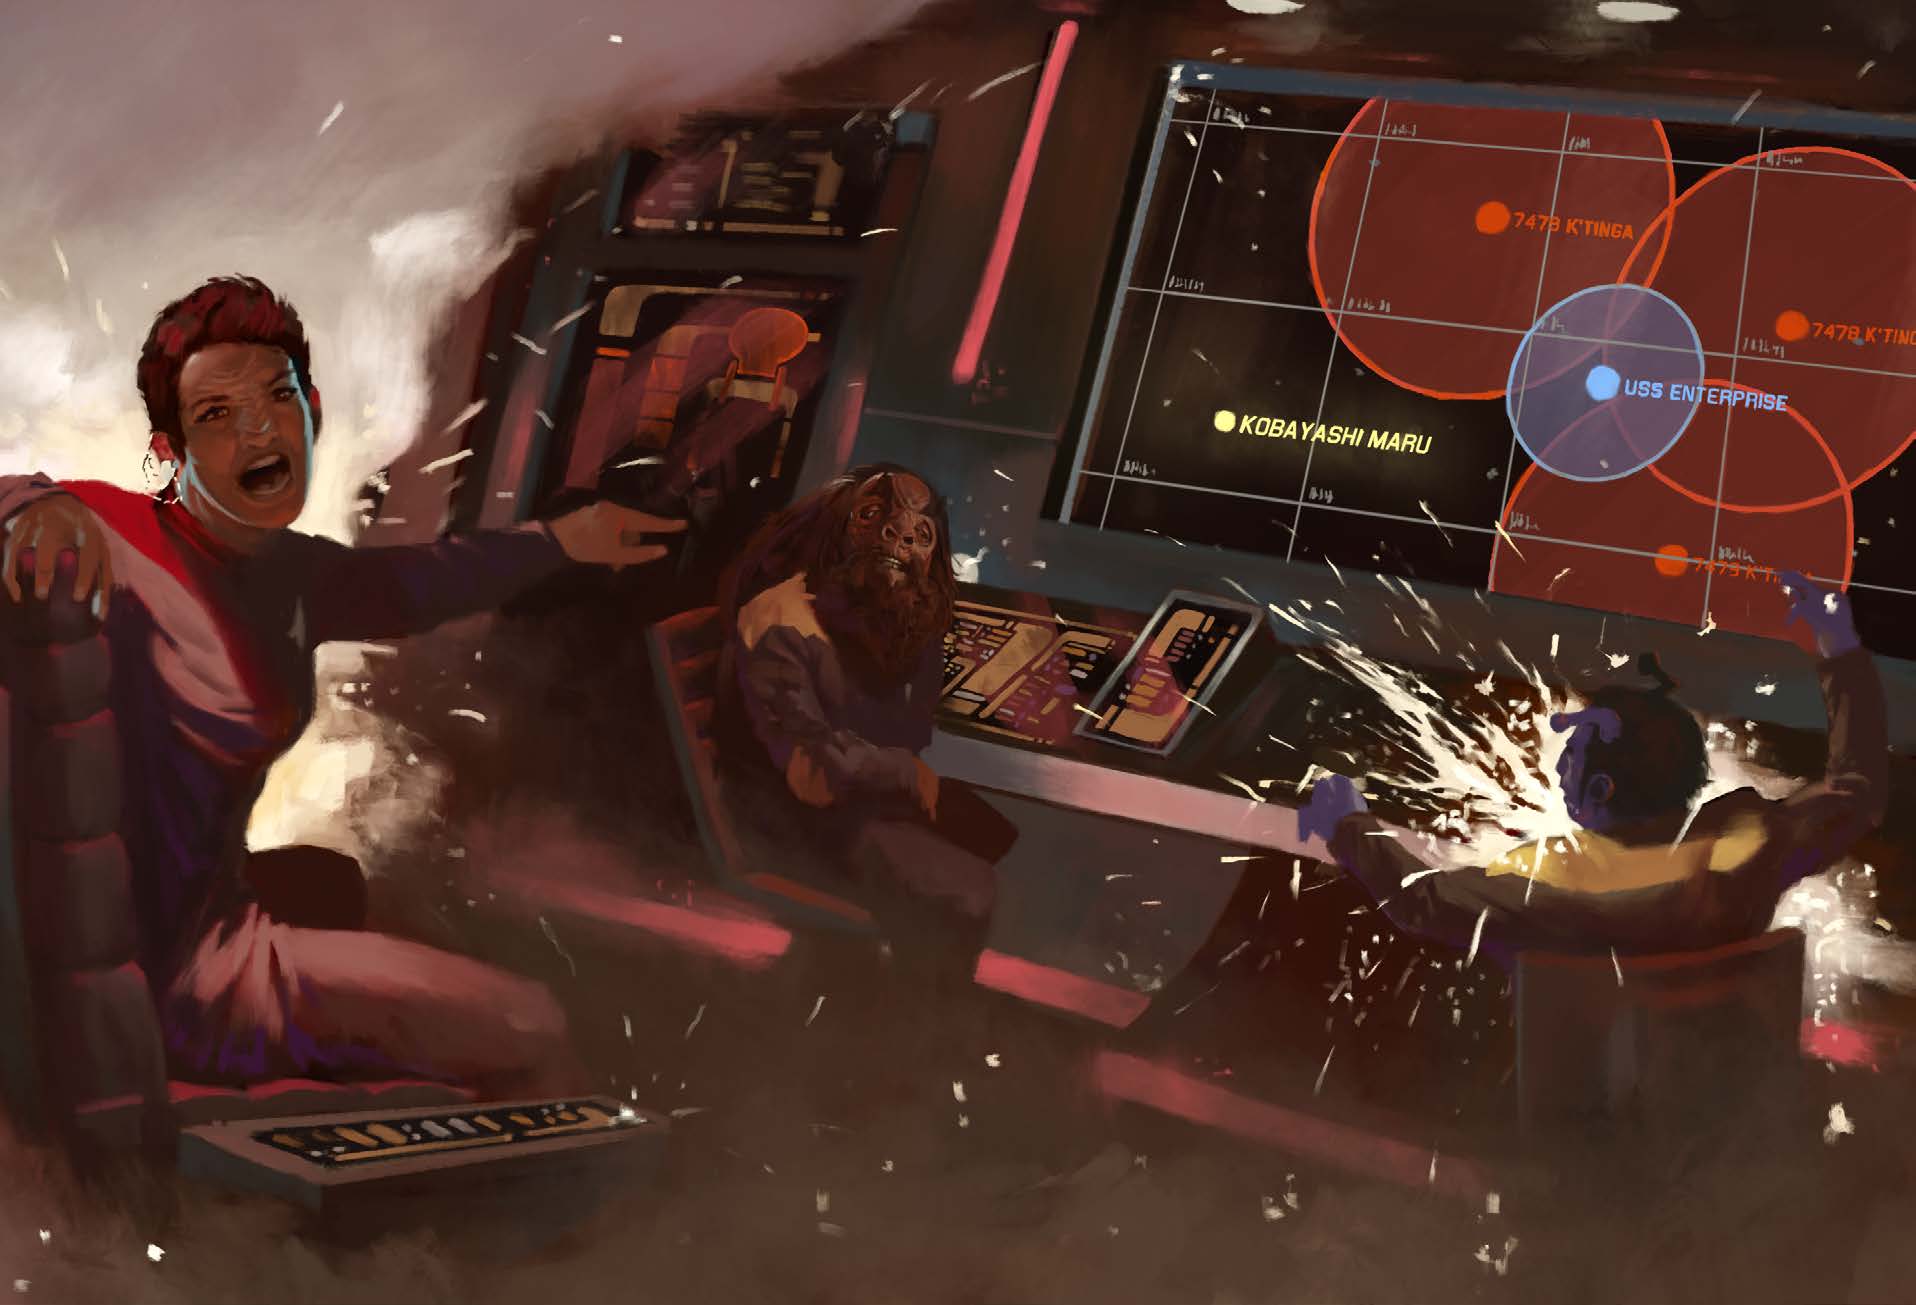
For my first try at this, I’m going to take something fairly straightforward. I’ve got a Federation fleet protecting a colony against a group of Dominion ships. My Federation forces consist of the U.S.S. Astana (an Intrepid-class ship on a Science and Survey mission), the U.S.S. Nautilus (an Olympic-class ship also on a Science and Survey mission), the U.S.S. Ghali (a Galaxy-class assigned to Crisis and Emergency Response), the U.S.S. Deimos (a Defiant-class ship on a Tactical Operations mission), and two runabouts (the Shinharaja and the Black Forest). These are up against two Jem’Hadar battle cruisers and two Jem’Hadar attack ships.
First thing is to organize these guys into wings with equal strength. My Federation ships are a bit of a hodge-podge (I’m thinking this was a hastily-assembled fleet to counter this attack) but I’m going to put the two science ships (the Astana and the Nautilus) in one wing, the Ghali in its own wing, and the Defiant-class ship with the two runabouts. This makes three wings with Strengths of 8, 6, and 7 respectively which sounds alright. The Dominion forces will also have three wings: two consisting of a sole battle cruiser and one made up of the pair of attack ships. I’ll make things easy and have a three-by-three grid for zones with the Federation ships in one corner and the Dominion ships in the other.

The Federation wings will go first and I’m going to have the U.S.S. Ghali take the first turn. It’s going to Attack Run action to move into the middle zone and attack battle cruiser A. The Ghali rolls a total of 9 for it’s attack (six dice to reflect its Fleet Strength) and the Dominion ship rolls a total of 5. The Dominion battle cruiser is now damaged. The Ghali‘s second action is to Feint which involves moving to the righthand zone and fake-attacking the same battle cruiser. This cruiser now has defended against three attacks (once for the normal attack and then -2 for the feint) so it’s defense is now three instead of six.
The Ghali will pass the turn to the NPCs and the GM decides that battle cruiser B is going to attack the Ghali. It’s going to leave the Galaxy-class threat to the others and make an Attack Run of its own into the middle zone. It will hit the softer targets of the science vessels and makes a six-dice attack roll for… three. These Jem’Hadar are not living up to their name. The science vessels roll a six so they easily fend off the battle cruiser, which is then damaged and so it loses it’s other action.
Now it’s a PC slot again and the heavy-hitting Wing 3 is going to take on that battle cruiser in the middle zone. It does an Attack Run and moves into the lefthand zone, rolling seven dice for their fleet strength and getting a five. The battle cruiser defends and gets a five as well; a tie means nothing happens but the Federation ships are going to Attack Run again and move into the bottom-left zone. This time both ships are rolling at one less than their Fleet Strength as the Federation ships have attacked before and the Dominion has defended before. The Federation vessels roll great and get a total of eight while the Dominion rolls just seven. Not enough: the Jem’Hadar battle cruiser explodes in a fireball. Now the area looks like this.

Turn passes back to the Dominion and the damaged battle cruiser A is going to try for some payback against the U.S.S. Ghali. It’s going to Attack Run into the zone where the Ghali is (to prevent it from running out of range) and attacks. The battle cruiser has defended before and not attacked while the Ghali has done the opposite; bottom line, both are fighting at their full Fleet Strength. The Jem’Hadar ship rolls six and the Ghali rolls seven, hurting the Jem’Hadar ship further so that it’s destroyed. This isn’t going well for the Dominion and we’ll see if we can’t finish them off with the science ships.
Wing 1 of the Federation forces will Attack Run themselves and move into the middle zone. They’ll make an attack roll against the only remaining Dominion forces and they have an advantage because their Fleet Strength is bigger. They only roll four, which the Dominion ships match. Nothing happens. The science ships will Feint this time to ruin the Dominion’s defense.
Conclusion
That’s probably enough for now. If I were the GM I’d have the attack ships do some crazy suicide run to take out as many of the Federation cowards as they could but it’s clear that the Federation will win the day here. They had a slight advantage in numbers and I wasn’t making the best choices tactically (I should have had the damaged battle cruiser A Regroup to fix itself up instead of pressing the attack) but we can see the broad-strokes advantages of this system.
Fleet engagements are quick and easy and I think it would be easy to have some on-ship scenes with Player Characters here as well. Maybe they are trying to heal colonists or deal with a Jem’Hadar boarding party amid all the pew-pewing, in which case this would be easy-to-run background elements for the GM. It seriously takes seconds and it a good way to consider mass combat for ships. In the future I’ll take a look at more complicated scenarios (having a PC-run ship, having an NPC admiral overseeing things, having some spatial anomalies muck things up, etc) as well trying out the Red Alert rules. For now, though, what do you think? Too simple or just right?
Leave a Reply